

FILL & GO™ INSTALL
The Expert’s Guide to Safely Installing Pikus Fill & Go™ Forms for 3D Concrete Columns
Working With Fill & Go™ Forms
In the ever-evolving landscape of construction innovation, the demand for safe, efficient, and customizable solutions has never been greater. Pikus Fill & Go™ Forms, a much-needed advancement in column formwork, are revolutionizing the way concrete columns are installed. As construction projects become increasingly complex and timelines more stringent, a reliable, streamlined installation process is paramount. With Fill & Go™ Forms, installers are equipped with a versatile solution that prioritizes safety and enhances efficiency. In this guide, we'll delve into the intricate details of safely installing Pikus Fill & Go™ Forms, providing comprehensive insights and expert recommendations tailored to those on the frontlines of construction.
Installation Step-by-Step
1. Unload
The product will arrive on pallets with protective wrapping and securing straps. While standard pallet size is 48 inches by 48 inches, this may vary in customized applications. Before unloading, contractors should perform a quick safety check as items may have shifted during transport. Pallets may be removed using a telehandler, following proper safety procedures. In some cases, a crane may be needed, requiring a lift plan. Always know the approximate weight on each pallet before lifting and ensure suitable safety factors for equipment.
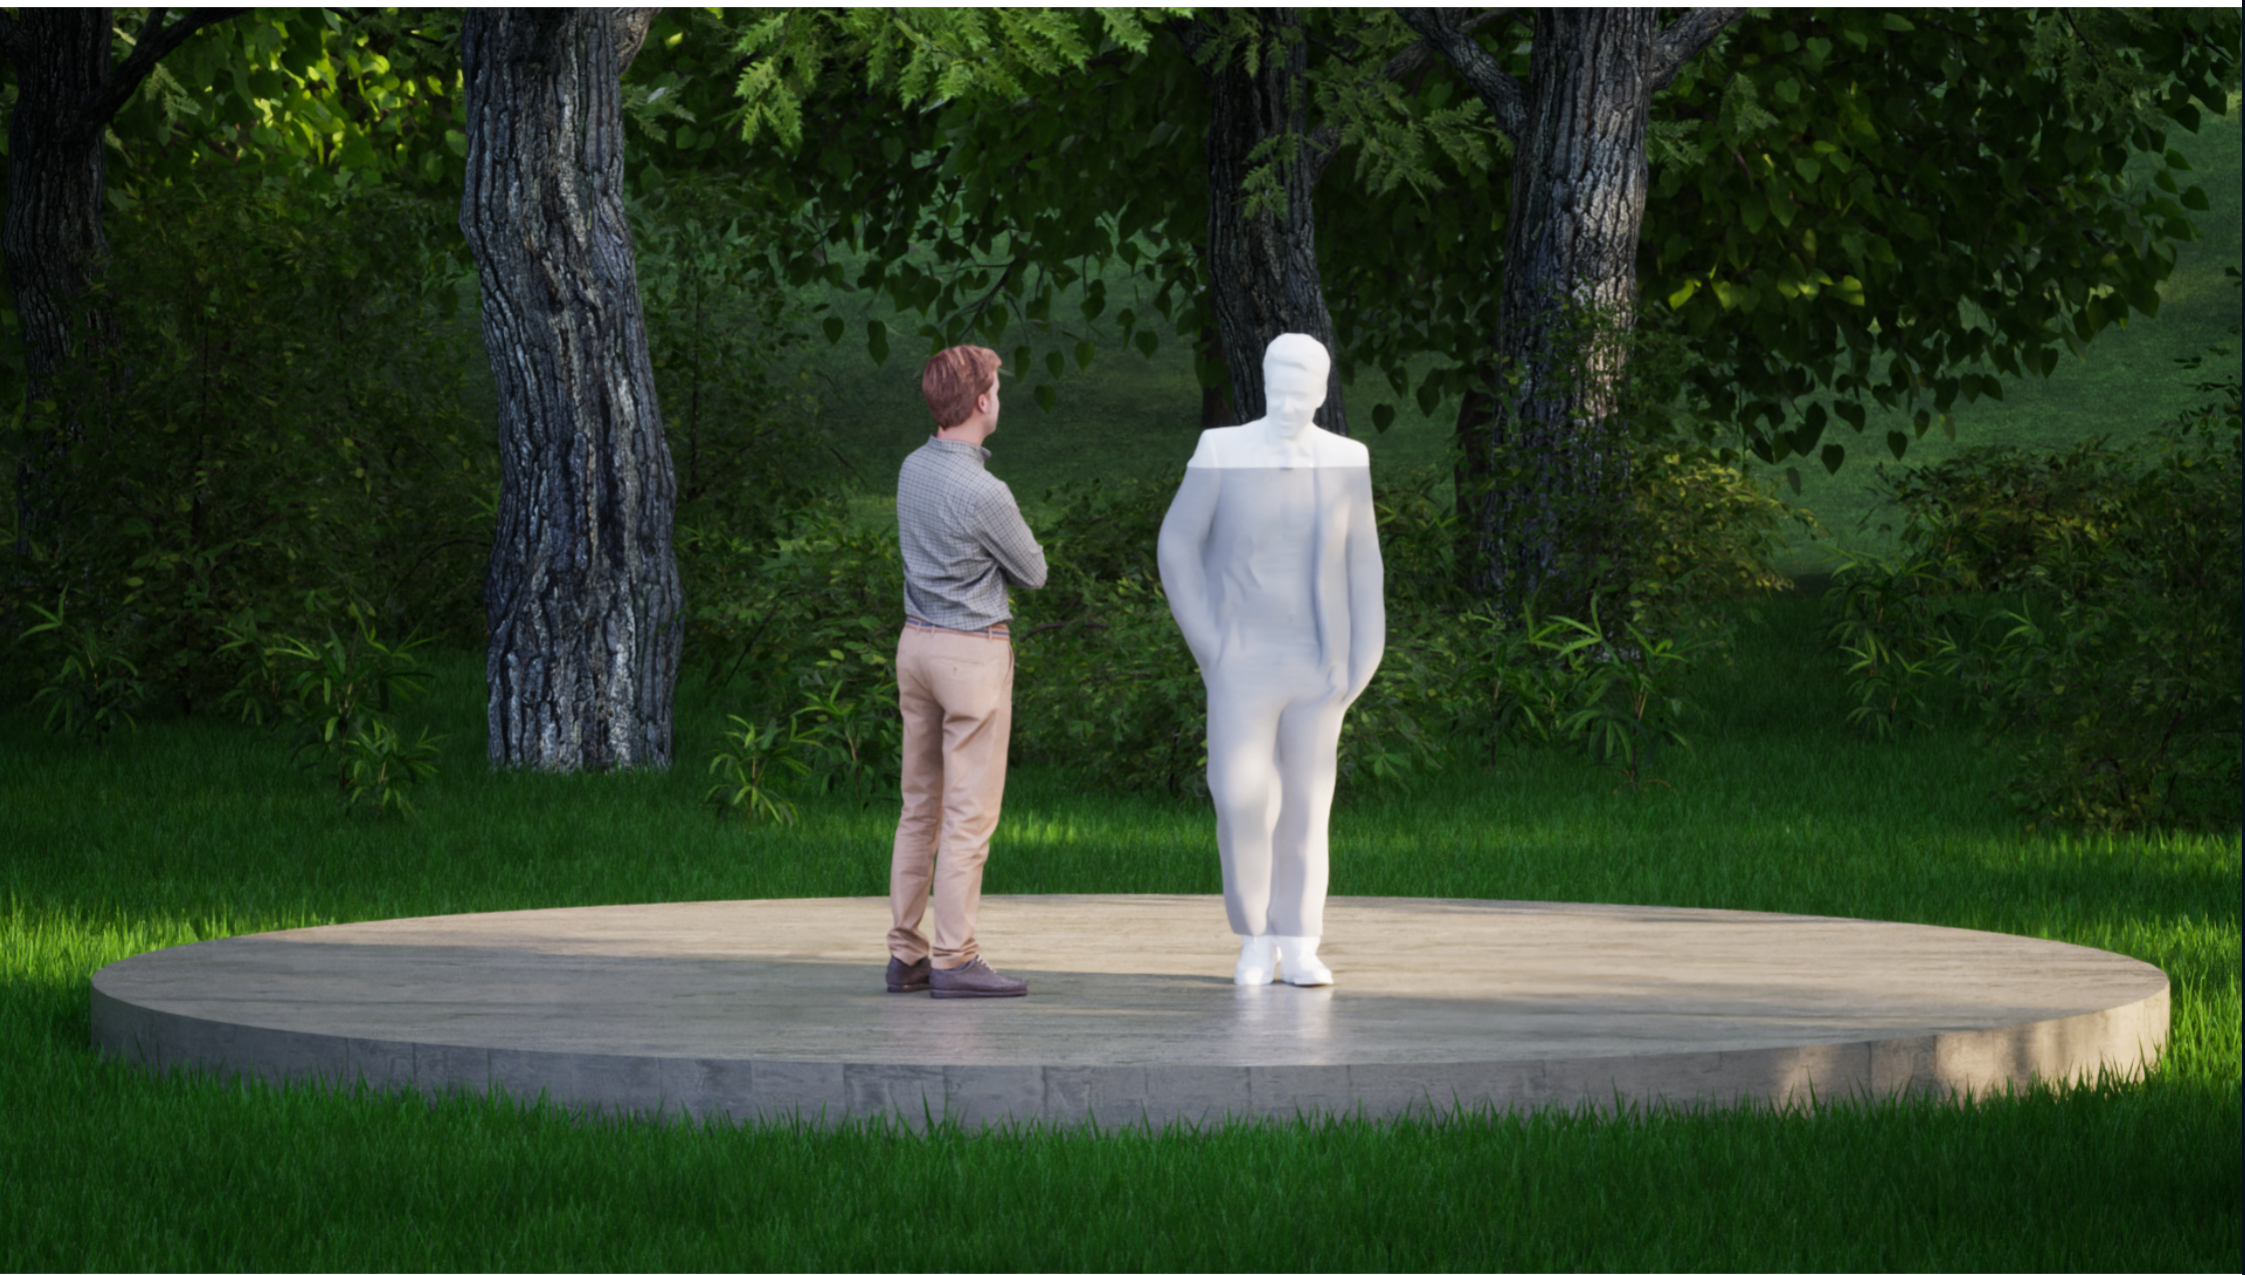
2. Stage
Stage the pallets at column locations (DO NOT remove protective wrap). The pallets should be staged in a safe location with the securing straps left in place until final application. Ensure the product is shielded from any passing traffic and that pallets are placed on stable, level ground.
3. Rig & Set
Rig and set the section(s) over a rebar cage. The product can be handled in several different ways. The Pikus Fill & Go™ safety instructions recommend choke strap rigging, though it is the contractor’s responsibility to assess other means of handling and the correct safety procedures if it is outside of this scope. In all cases, the PikusProtect™ wrap must stay in place during the moving process and Pikus Plumbpoints™ should be pre-attached prior to lifting. The following is an overview of the recommended rigging method:
4. Fill & Consolidate
If a collision occurs with the product, clear the surrounding area to avoid injury from collapse. Report the incident immediately. Do not move the remaining column pieces until safety is assessed.
If the provided product falls off the palette, or the palette is damaged, please clear the surrounding area and follow the column cleanup procedure as directed.
Entrapment
A risk of entrapment is presented when moving heavy columns. Follow all OSHA procedures for proper rigging and craning of heavy loads.
Please inspect all column forms for damage before use. If your product is damaged, refer to the product warranty for replacement information. Using a damaged column can result in product failure.
Product Tipping Over
Choke Strap Rigging
Fill the column with concrete. Perform continuous lifts, 12 feet tall. Always follow ASTM column fill rates and OSHA safety standards. 24” column prints are rated to 1,780 psf. Consolidate concrete as specified by the structural engineer (DO NOT remove protective wrap until all job site trades are complete).
Safety Procedures
In the realm of construction, safety protocols are vital to protect workers and mitigate potential risks. When installing Pikus Fill & Go™ Forms for 3D concrete columns, adhering to strict safety measures is paramount. From initial arrival to final consolidation, these protocols ensure a secure environment and provide guidance on how to handle accidents and mitigate risks effectively. This section will highlight key safety measures and best practices aimed at safeguarding personnel and minimizing potential hazards throughout the installation process.
Column Blowout
Columns carry a risk of blowout if used improperly. 3D-printed column forms may crack, flake off, or burst if columns are filled improperly. This can be mitigated by following the proper pour rates and pressure designs as provided for your project.
Product Collision
Product Palette Failure
Damage to the Product
Height Risks

This approach may employ a crane for both lifting and positioning the item into its final location. It is advised to utilize a load-rated spreader bar suitable for the task. In cases where two or even three sections are moved simultaneously, the Pikus Plumbpoints™ attachment system must be correctly installed and adjusted to the recommended torque settings between sections, as illustrated in the diagram below. It is essential to have a comprehensive lift plan in place for all crane operations and to ascertain the total weight of the item beforehand.


When setting the product, please make sure product is set on level ground or with proper stabilizing elements for uneven or angled surfaces. Training will be provided on proper setting. If the product does tip, clear the surrounding area and report the incident to a supervisor.
During the staging and installation process, installers may be exposed to working at heights. Please ensure all OSHA procedures are followed to avoid injury.
-
![]()
Our History
Learn about the adventure that led towards the founding and execution of Pikus 3DPG.
-
![]()
Best Practices
Learn the best practices for designing in 3DPG. Get a clear overview of limitations, techniques to bypass limits, and more!
-
![]()
Destruction
Learn how Pikus tests every product, from rigging connections to final attachments.
-
![]()
The Pikus Adventure
Join Pikus on epic adventures, from hands on creation to destructive testing, Pikus always has fun.
-
![]()
3DPG vs. CIP
Take an in-depth journey through the differences between Cast-in-Place construction practices and 3D-printed poly-grout.
-
![]()
Making Your Statement
How architects can fabricate their dream creations while making a positive impact on their community.
-
![]()
Project Charlie
Why we didn’t take on Project Charlie and what we learned about the incredible possibilities of 3D poly-grout.